Powered By Blogger

Tuesday, May 29, 2012

Blanket cover

It is easy to sew a blanket cover. This is a blanket cover that I've made. It has two pieces. A flower appliqued on the green background.


The bottom of cover there is closed with ziper.


The lace is  between in two pieces.


Crazy pink flower:) There are some french knot in centre of flower.


Good night my little princess:)

Wednesday, May 23, 2012

Thank you very much Uugii:)

Thank you very much Uugii:) This beading necklace is made by Uugantsetseg. She given for me that gift. I so proud of you. You are the great women. I am so happy now:)


Thank you to Uugii for your great gift:)

Sunday, May 20, 2012

Mattress cover sheet tutorial

It is good if all sides, but the underside, of the mattress are covered by the bed sheet. I always make it this way. And now how to make the mattress cover sheet that you'll make it follow with my tutorial.

First lay the fabric on the mattress so that the edges of the fabric go beyond the edges of the mattress for about 7-10cm.


Right sides together and pin in place. Do this for the other 3 corners as well.


Mark the seam line.

Secure pins and sew along the line.


Check it after sewing.


Cut the seam allowance 


Sew bottom fold the edge in 1.5-2 cm


Pin a safety pin to one end and insert it in the hole you left in the casing. Don't forget to pin the other end to something as well!


Pull the elastic cord and secure it tight.


That't right.


Now you have done!


We love sewing:)

Sunday, May 13, 2012

How to make a mattress topper

Make your own bedding with sewing tutorials that will teach you how to make a bedding set. Let's start with what yu put on your bed.
Mattress top.
My son has grown out of his bed. Now his younger sister has taken on his bed. I've just started to make changes to the bed so it's suits her tastes. The mattress of the bed is not comfortable to lie on without a topper on it.
Use zigzag stitch sewing each other 

Sew coversheet out of Mattress topper .


I made this mattress topper with a resin holder on each conner. The resin holder helps the topper not slide over the mattress.

By the way, the topper was made with a blanket that I was wrapped in when I was a baby. The blanket cover is very soft and my daughter uses it now.


The sewing keeps you with your memories and enriches them.
Happy memory sewing!

Wednesday, May 9, 2012

My tutorial on 'Yo yo'

I promised to show you how to make yo-yos. Now I'm posting about it. Yo-yo was originated in England in18th century and was called "camomile". From 1930, it was given the name "yo-yo".


This is not appropriate if we don't translate the word yo-yo into Mongolian. So I suggest it to be called  "khumbaga" as it looks like something called "khombogo", some kind of bag with its opening puckered up and hung from the saddle on a horse. This bag has many uses including transporting liquid in it. The yo-yo, before being flattened, is no different from "hombogo".

Now lets make some yo-yo.
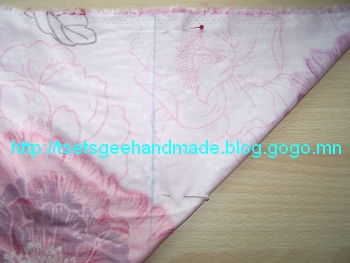
1. First, circles draw on the wrong side of your fabric. You can use a compass to draw out your pattern, or find a bowl or lid to trace.


2. Cut out circles of fabric.


3. Fold under a scant 1/4" along the edge of your circle, as you stitch close to the folded edge. Use strong thread and make sure it's long enough to go around the full circumference of the circle, with some to spare.


4. Use strong thread and make sure it's long enough to go around the full circumference of the circle, with some to spare.


5. Gentle pull your thread. It looks like hombogo.


6. Squash your yo-yo flat, with the gathers centered on the top of the yo-yo. That's it!


I made the ones below.
Making yo-yo, playing yo-yo:)